How to Garden Under a Norway Maple
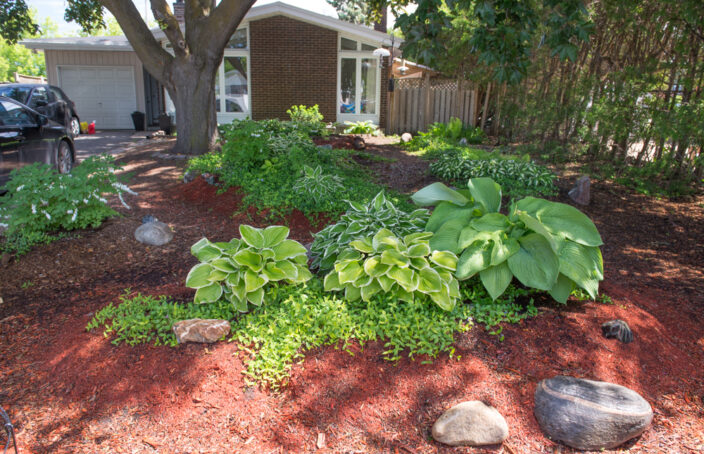
Gardening under a Norway maple is difficult due to their dense shade and root system, but it can be done. Here’s how I did it.
Read More
Gardening under a Norway maple is difficult due to their dense shade and root system, but it can be done. Here’s how I did it.
Read More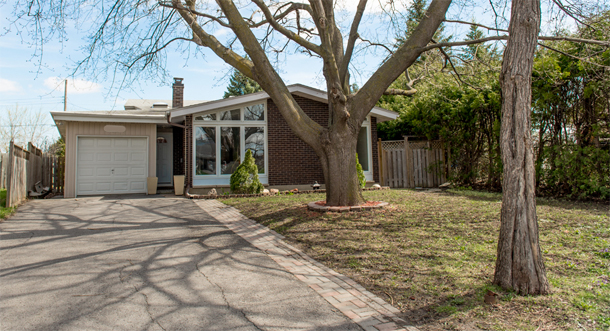
We’re glad we bought a fixer upper, but you might not be. You’ll need either a lot of money or a lot of time, plus a serious nesting instinct in order to make it worth your while.
Read More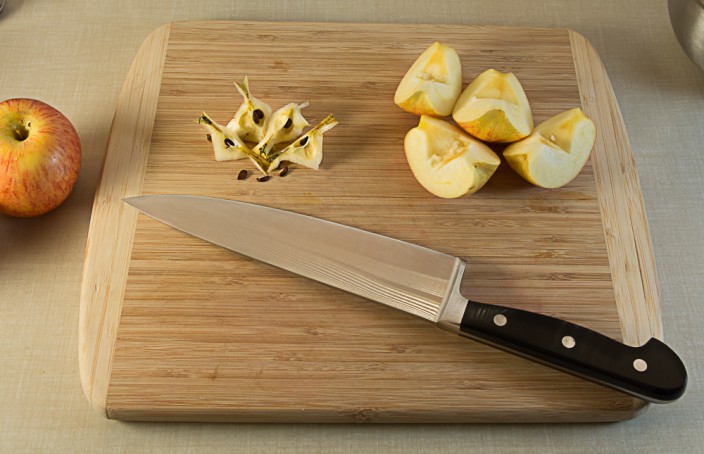
If you have decent knife skills, you don’t need to use a gadget to core an apple. This super fast method uses the apple’s anatomy to do the work for you.
Read More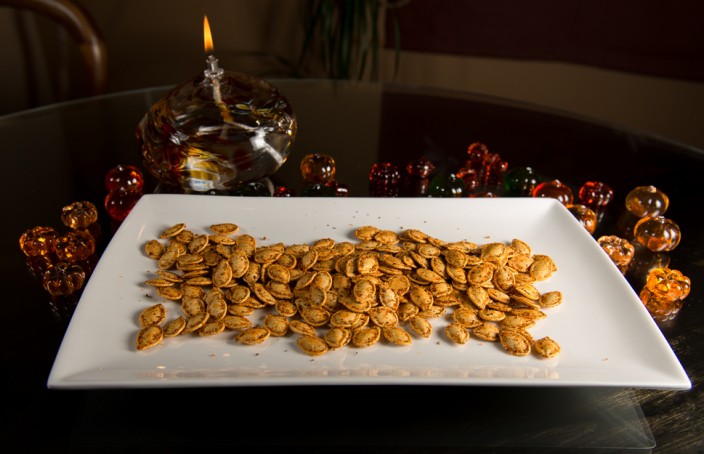
These are the best roasted pumpkin seeds I’ve ever tasted; they’re made with Justin’s home made Cajun spice mix. I also show you the fastest way to de-slime your pumpkin seeds – a secret trick you don’t see anywhere else!
Read More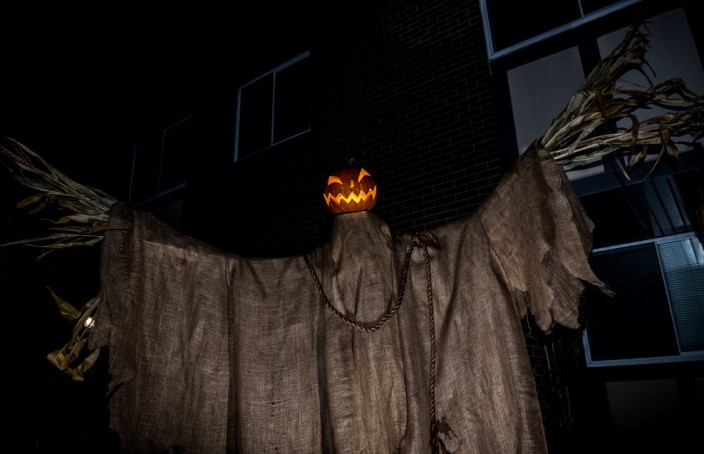
This step-by-step tutorial with lots of pictures will show you how to make a 10′ tall pumpkin scarecrow. You need some basic woodworking skills for this, including tool use, safety and especially measuring. But the results are worth it!
Read More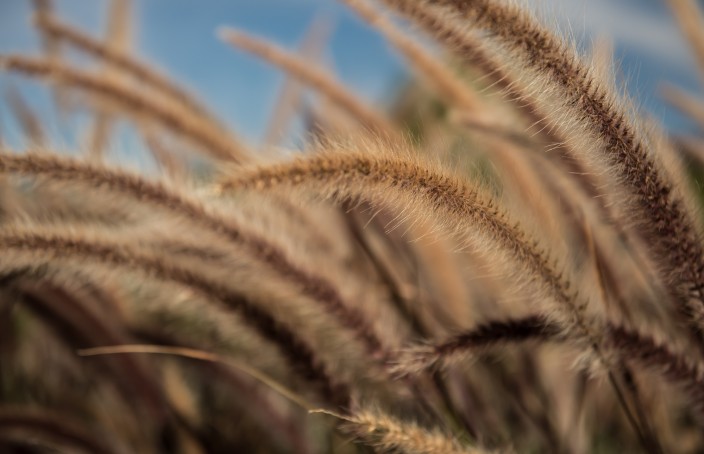
Whether you’re starting a new garden or want to make your existing garden more fall-friendly, there are lots of places to go to get inspiration. The best places of all may be just around the corner from you.
Read More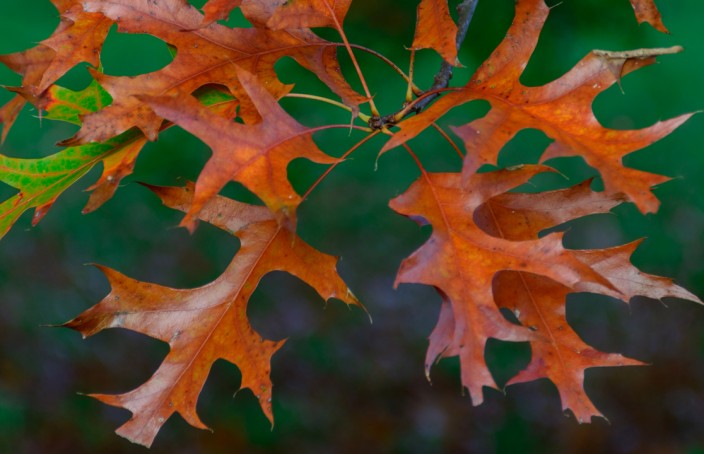
Fall is my favourite season, especially when it comes to taking photos. Here’s a list of some of the best places in Ottawa to capture those fleeting colours – assuming nature cooperates.
Come on, everyone needs to put down their tools from time to time! I’ll be back with more reno fun in a few weeks – I’ve got something really nice to show you.
Read More
After more than a year, it’s finally reveal time!
You don’t need a walk-in closet or dressing room to get something that shows off your clothes. With some planning, some LED lighting strips and some serious effort you can get some pretty spectacular results, if I do say so myself. Is it worth the effort? Read on to find out how we did it.
Read More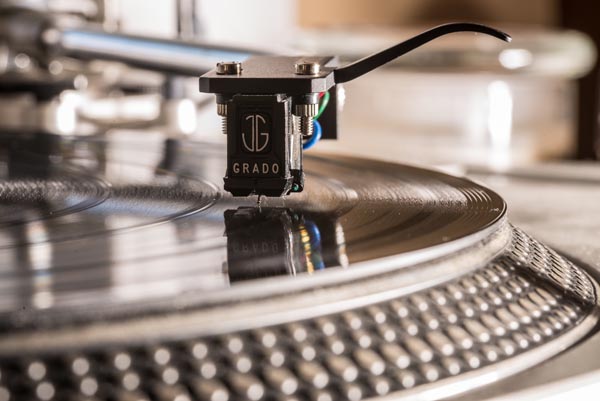
Thanks Shelley! I'm still struggling with this - one day it's "yes" and the other day it's "no"!
Sometimes getting rid of possessions can feel like ripping off a band aid very, very slowly. I’ve gotten so much better at getting rid of things I don’t use anymore, but my record collection is in a whole other league. While my albums definitely need to go in order to make room in my tiny houselet, I was having trouble facing the task. I realized I was hanging on to the records because I was also hanging on to some baggage. Here’s how I coped.
Read More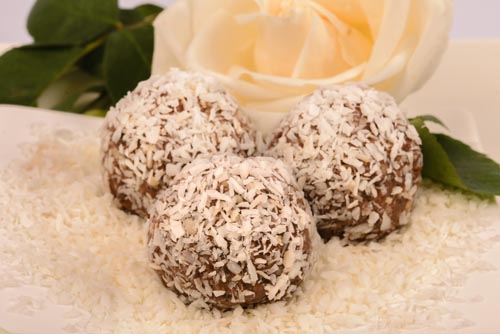
Even the non-health nuts agree that these things are unbelievably good. And yet, there’s no added sugar! If you’re looking for a healthier dessert option, this version of the popular hiking snack may be just the thing.
Read MoreCopyright © 2018 by Jennifer Priest. I write my own stuff, so you should too!
No comments yet.
Add your comment