How to Make the Ultimate Pumpkin Scarecrow
If you carve Halloween pumpkins every year because you want to, not because you have to, it’s a creative thing. And, like many creative endeavours, you can sometimes want to push the envelope a bit and find out just how far you can take the thing.
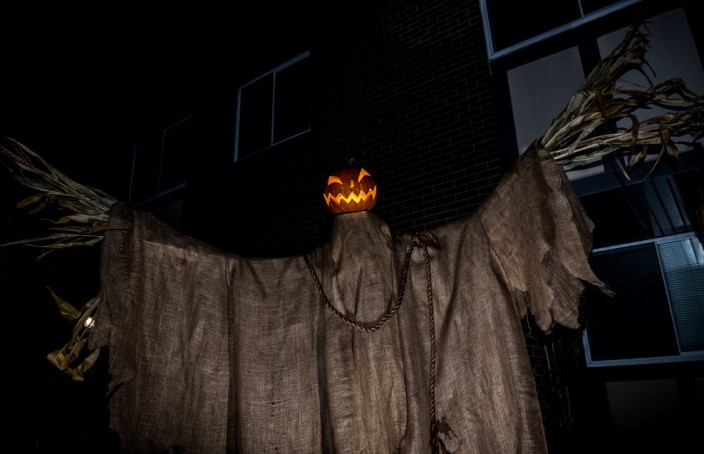
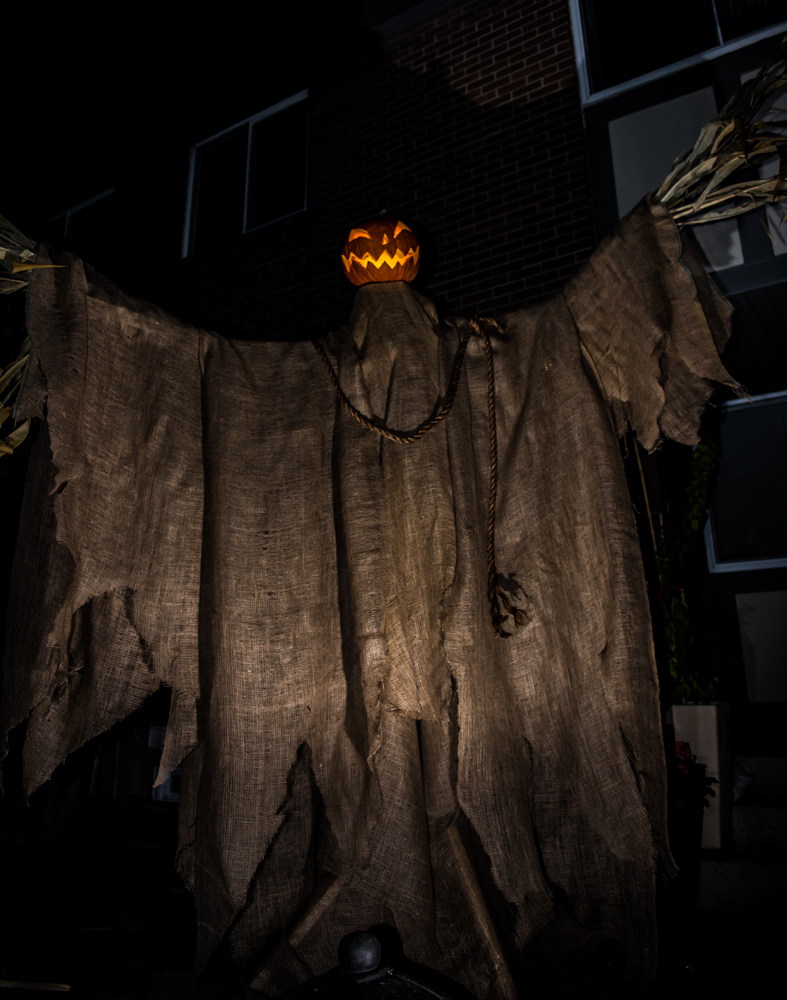
It may take you, as it took us, into the realm of engineering. For you see, gentle reader, it was not enough to make a small plastic scarecrow. It had to be a gigantic 9 foot tall one, that loomed over the viewer in a menacing fashion, and had a real pumpkin on top.
We had decided, as they say, to go for the gusto.
Why Do It This Way?
So, at the bottom of this post you’ll find some links to some videos showing some much easier ways to do this. Here’s why we went to all this trouble:
- This stand is really freakin’ stable. It has a wide base that makes it really hard to tip over (we tried). After a almost a week’s worth of testing, it doesn’t blow over, even in some excitingly high winds of more than 30 kph/18.6 mph.
- This framework will also support the weight of real pumpkin, even a large one. Most other tutorials require a plastic one that, let’s face it, won’t look as good.
- This one can be disassembled and reused next year, or for other holiday decorations, like your Christmas scarecrow (?!).
- This way is perfect for small yards because it doesn’t require a stake in the ground. The risk of pounding a few feet’s worth of rebar into the ground was, for us, hitting a gas line. Natural gas leaks are dangerous, expensive, and makes you and your neighbours miserable for days or weeks until the city fixes them. People with septic systems will have similar concerns.
Difficulty Level: Low to Medium
This method just requires basic woodworking skills: simple tool use without injuring yourself, power tool safety understanding, and measuring skills. It takes about 8 hours to build and decorate.
One person can do this on their own if absolutely necessary but there are times when it helps to have two people.
What You’ll Need
Here’s the list of tools and supplies.
Materials
Most of the materials we needed we sourced from our scrap wood collection. Everything else was easy to find at our local hardware store.
- 3 eight-foot lengths of 2×2 lumber. One can be warped if you want the scarecrow to loom forward at you, but the others should be reasonably straight. Get pieces without splits.
- Burlap. We used a almost a whole 40” x 100’ roll, but you can get away with 12 metres (40 feet) or so.
- 2 dried bunches of corn stalks for hands and miscellaneous decorating. You can alternatively use scary sticks for hands.
- Plywood – about 8”’ x 8” total
- 1” dowels – about 20 feet
- Twine
- Optional: 1” thick sisal rope – about 5 feet.
- One pumpkin, carved. You can do this the day before and leave it in the fridge tied up in a plastic bag.
- Light for inside the pumpkin. We used a bike light with an orange photography gel wrapped around it – we found that candles didn’t stay lit.
Tools
Building the stand:
- Work bench or other secure work surface
- Carpenter’s square
- Pencil
- Tape measure
- Jig saw with a nice sharp blade.
- Hammer
- Drill
- Drill bit assortment to match screws listed below. We also used a countersink collar on our bit
- #2 Robertson (or “square” for our American friends) screwdriver attachment
- Large spade bit – big enough to get a jigsaw blade through. Over 1” is great if you can get it, but don’t go over 1 ½”.
- 2 clamps
- Hack saw – just in case you have askew screws that need their sharp ends trimmed.
- #2 Robertson (square) screwdriver – this isn’t essential but is handy for final tightening
- 12 x #2 Robertson (square) 2” screws
- 12 for construction
- 4 for securing pumpkin to stand
- 16 x #2 Robertson 1 ¾ “ screws
- You may need a small shim or two to make it perfectly stable, depending on how level the patio or ground is where you set it up.
Decorating the finished scarecrow:
- Drill bit extender (for attaching pumpkin to completed stand)
- 6’ ladder so you can reach everything.
- Utility scissors for cutting jagged edges in the burlap and cutting the twine.
- Twine
- Optional: sand bags or other weights to provide additional stability to the base. We used a rock. Normally you don’t need this but if winds get really high it can add extra security.
Cut List
- Body: 1 x 2”x2” lumber, left at full 8’ length. This one can be warped so it “looms” forward.
- Legs: 4 x 2”x2” lumber, cut to 3’ long with a 45° angle cut on each end.
- Ground-level braces: 2 x 2”x2” lumber, cut to 3 feet in length. One one end, have a 45° angle, and on the other a 90° angle.
- Cross-braces: 2”x 2” lumber, cut to 15” in length (you can also make them longer if you have more wood). One one end, have a 45° angle, and on the other a 90° angle. We used some thicker scrap wood – the stand will be hidden under burlap so you don’t have to be fussy or precise.
- Arms: 4 x 1” diameter dowels, 3 to 4’ long each, with one end a 45° angle. The length is really flexible – it’s all about how long you want the arms to be.
- Arm braces: 4 x ½” x ½” wood at 18” long. That’s what we did, but really, any similar suitable scrap wood will do.
- Pumpkin support: 1 x 4”x6” piece of wood. We used a piece of scrap 2×6 wood.
- Pumpkin mounting bracket: 1 x 3” x 4” plywood.
Let’s Get Building!
Building the Stand
This takes about 6 hours – probably less if you’re more focused than we were.
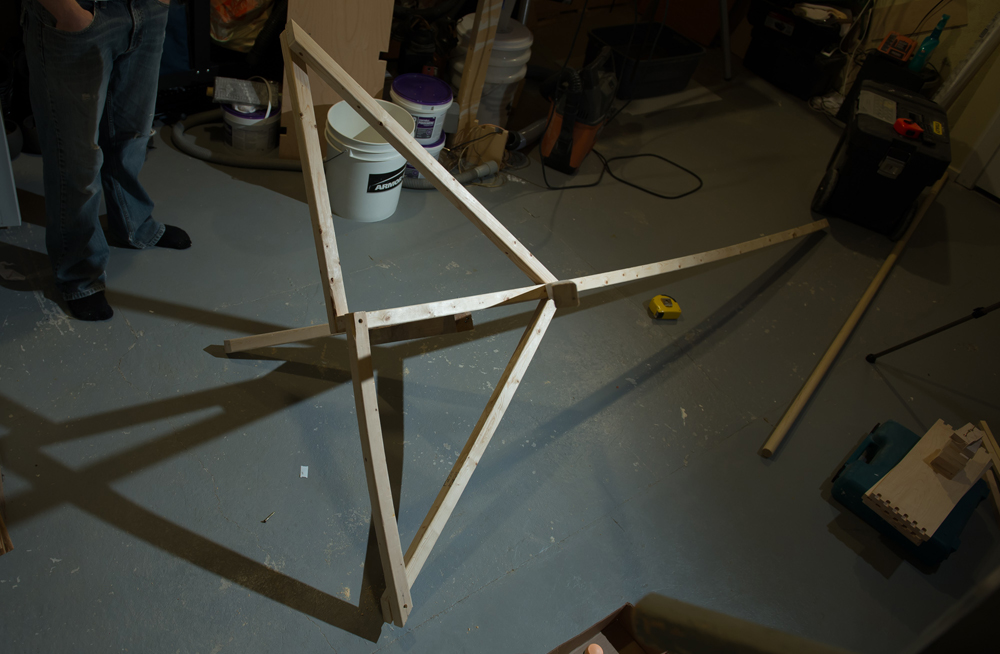
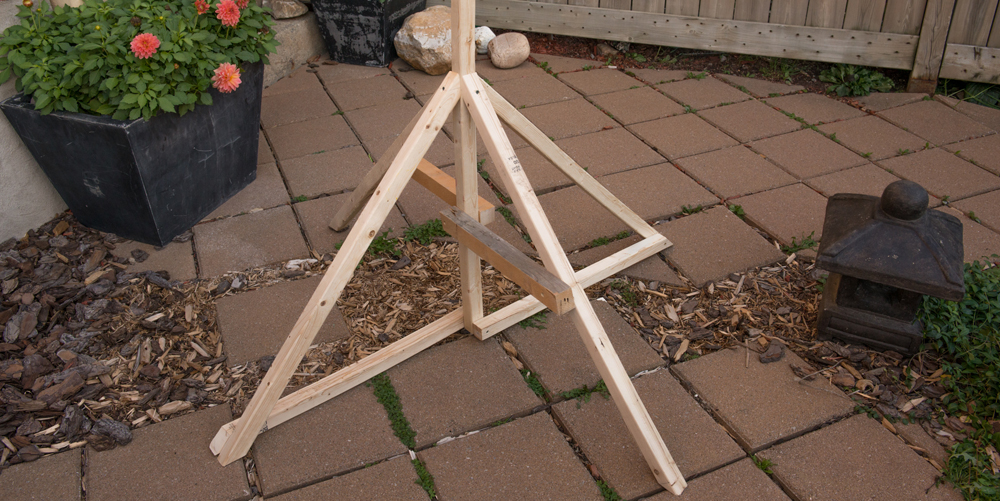
Stand Base
Here’s what you’re building in this phase:
1. Place the 9’ main 2 x 2 pole on the ground in your work area.
2. Clamp one of the other 9’ 2×2 lengths to your workbench. Measure a 3’ length. Using the jig saw, cut one leg and add the 45° angles on both sides. Repeat for the other 3 legs.
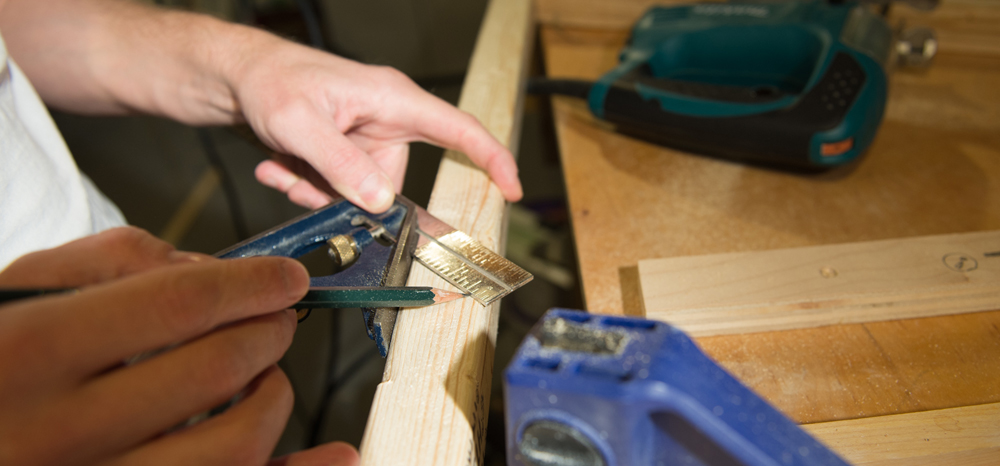
Measuring a 45° angle.
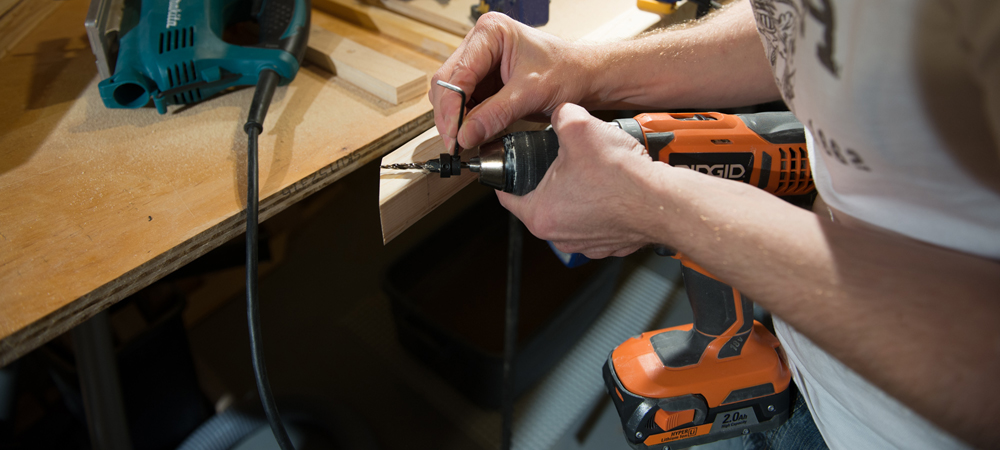
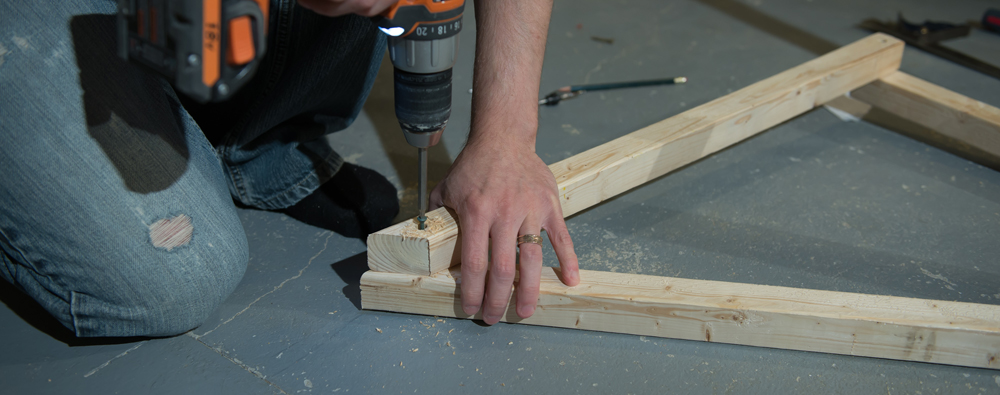
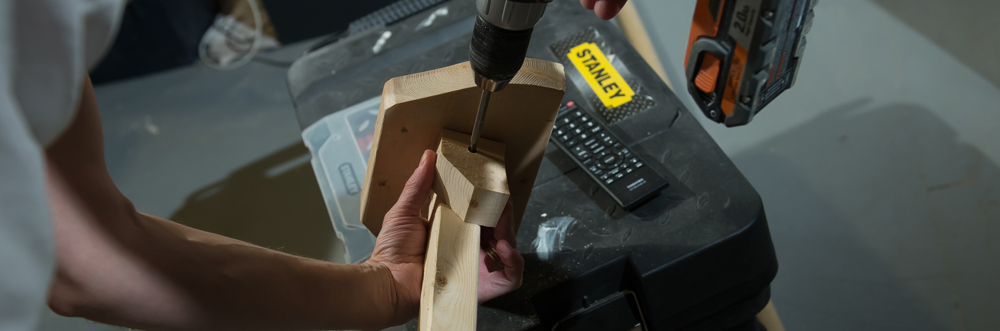
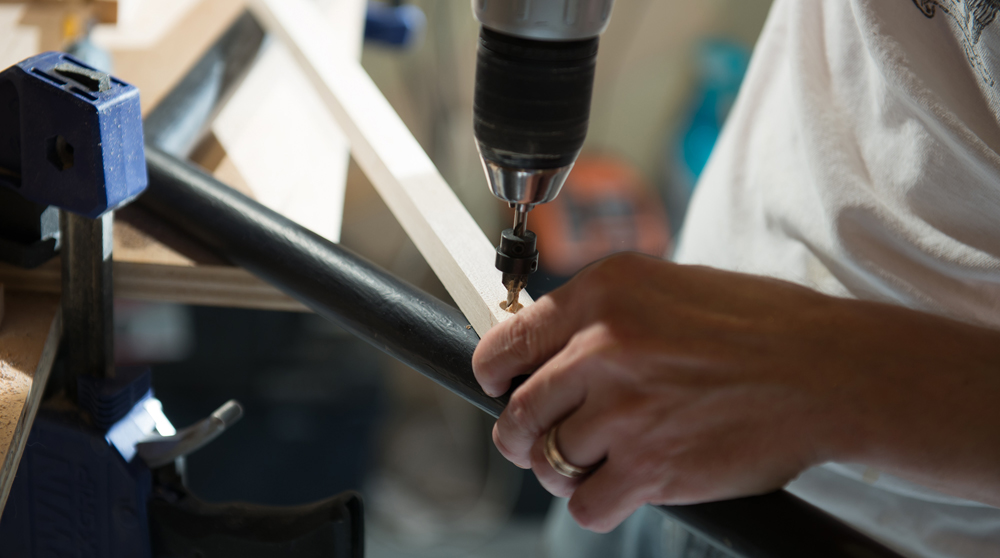
3. One each length, pre-drill the holes for the screws.
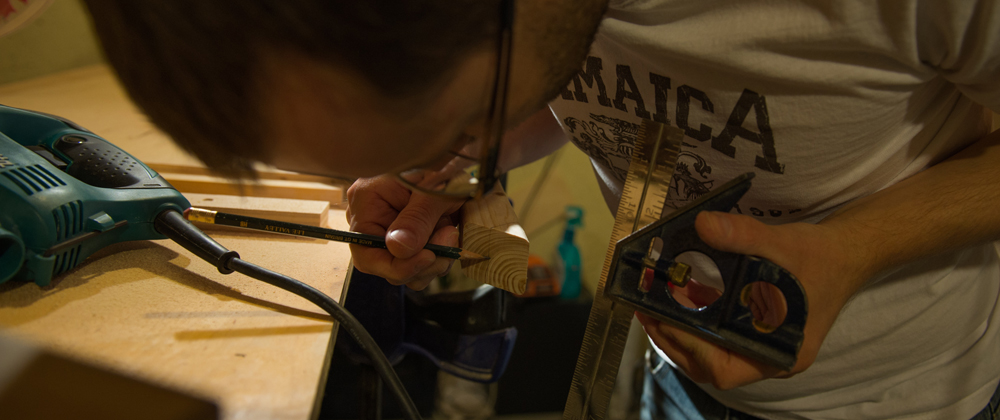
Here, Justin finds the centre so he knows where the drill bit should come out.
Then, measure the origin of the hole. Here Justin checks the path of the hole before drilling, and tightens the collar on the drill.
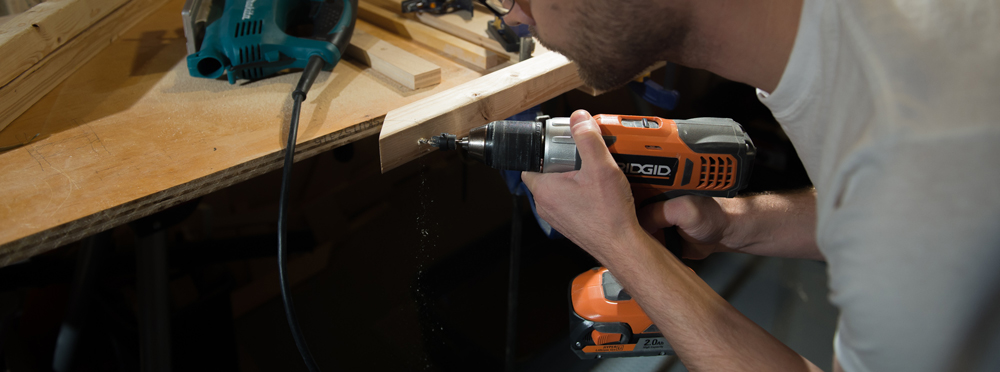
Action!
4. Cut the 2 ground- level braces, ensuring that one end has a 45° angle, and on the other a 90° angle.
5. Cut the 2 mid-level braces, ensuring that one end has a 45° angle, and on the other a 90° angle.
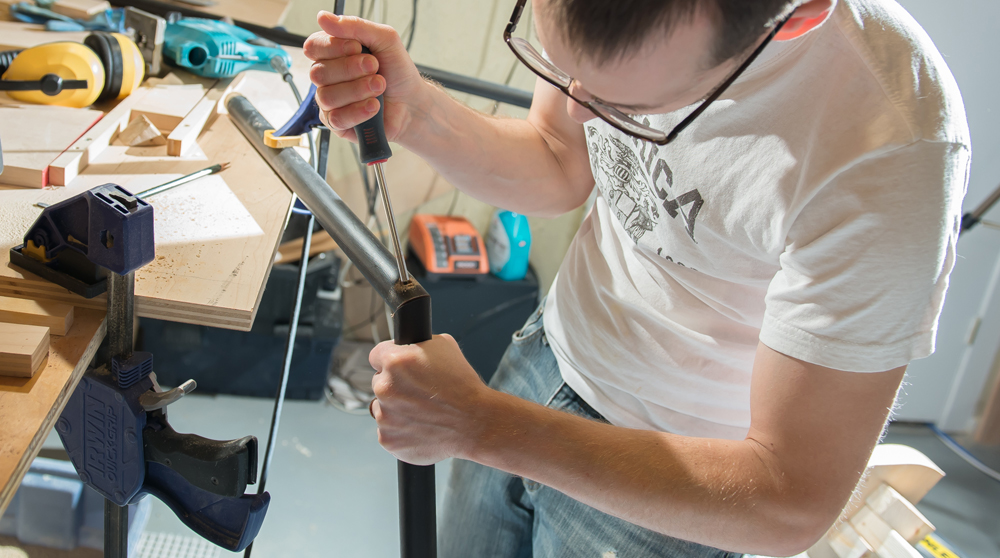
6. Attach the first leg.
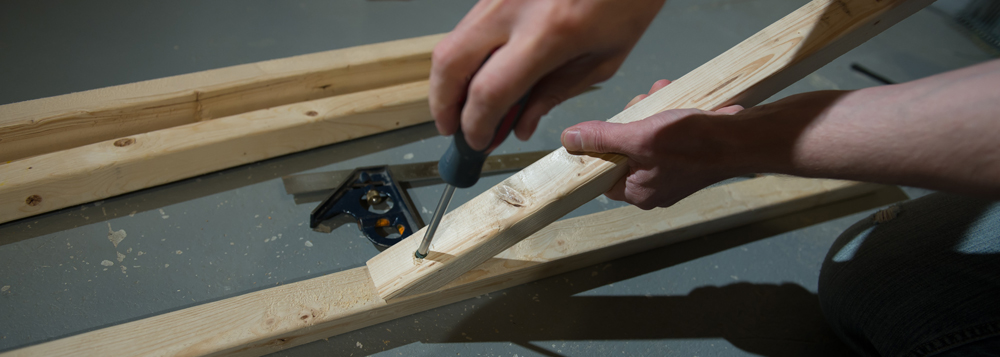
Justin tightens the screw on the first leg.
7. Attach the first ground-level brace.
Attaching a ground brace from the central pole to the first leg.
8. Attach the second leg. On this leg, you won’t be creating a ground-level brace. Instead, you’ll be doing a cross-brace higher up on the leg. Making all four symmetric is fine… but we didn’t have enough wood to do this.

Second leg attached. In this photo, you can really see how far forward our main pole will lean. We chose this so the scarecrow will loom over the viewer once it’s set up.
9. Attach the third leg, and then its ground level brace.
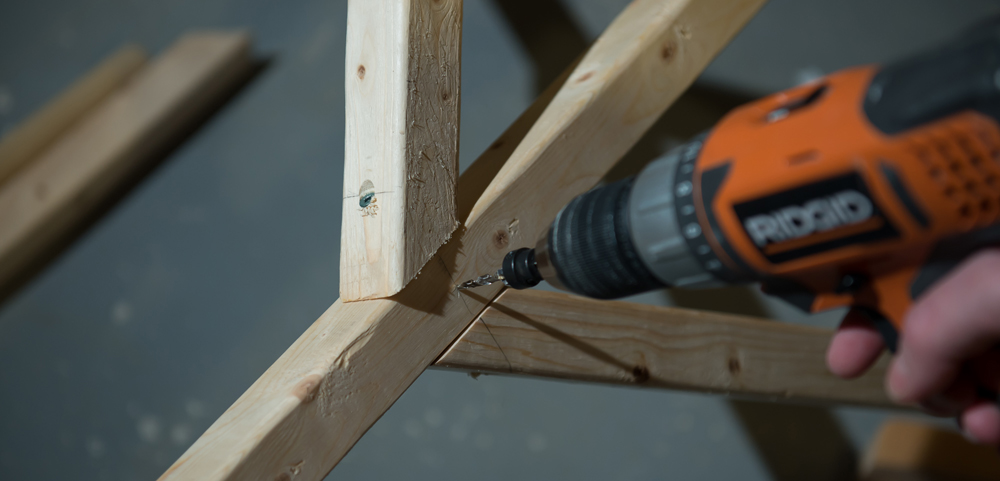
Pre-drilling hole for the third leg. As you can tell from the shadow, you don’t need to be super precise.
11. Leave one leg unattached – you’ll attach it outside if the entire thing won’t fit up your stairs or out your door.
Neck – AKA the Pumpkin Support
In this step, you’re creating a braced platform that will provide a support for your pumpkin.
1. Take a piece of wood and cut it so it’s at least 5” x 6”. We tapered the front edge with a jig saw to reduce visual impact.
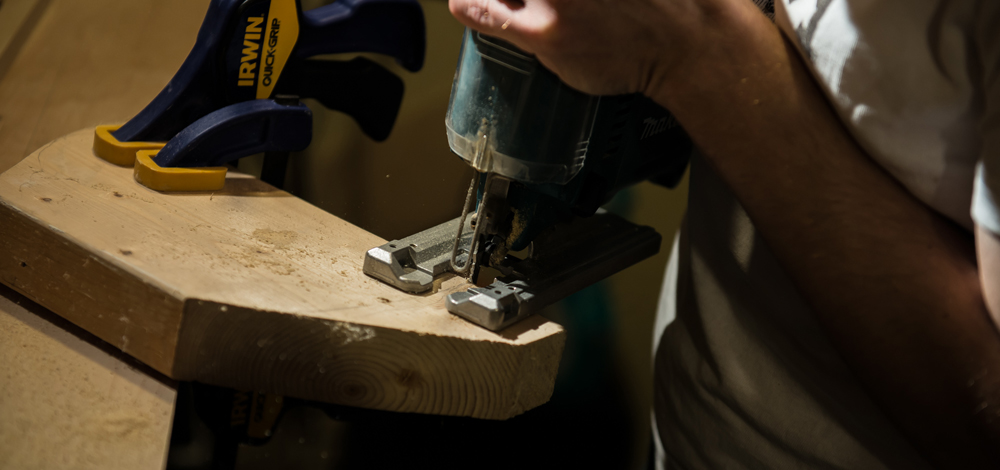
2. Using a spade bit, drill a central hole so that you can fit your jig saw in.
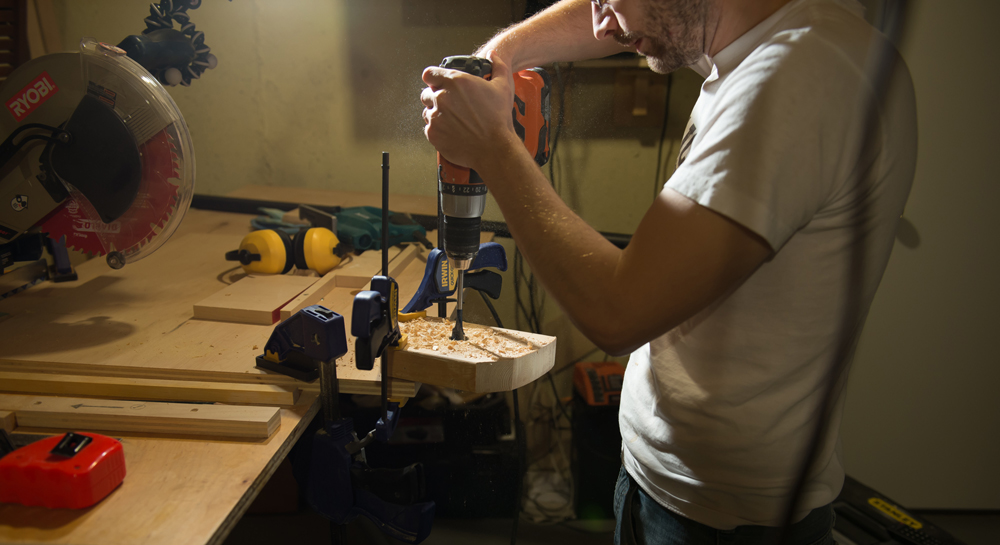
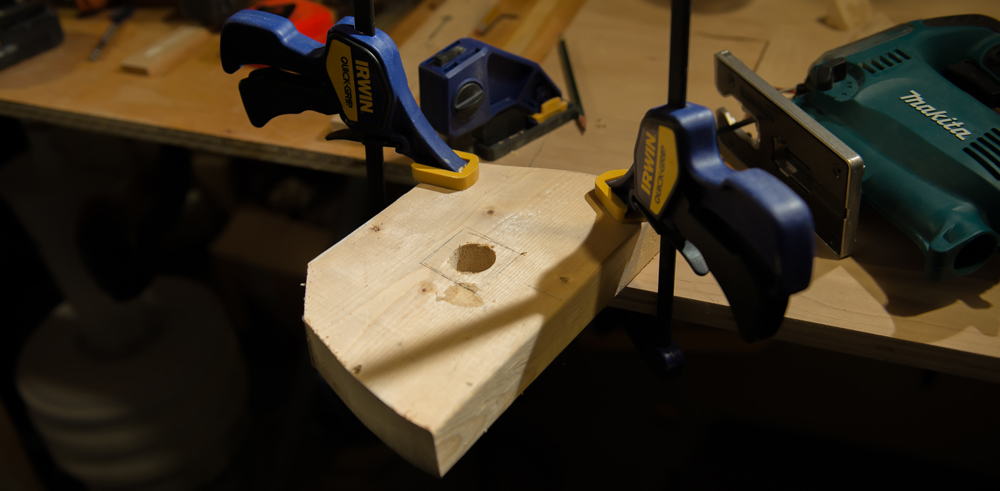
Once you’ve drilled your hole, you’ll have this.
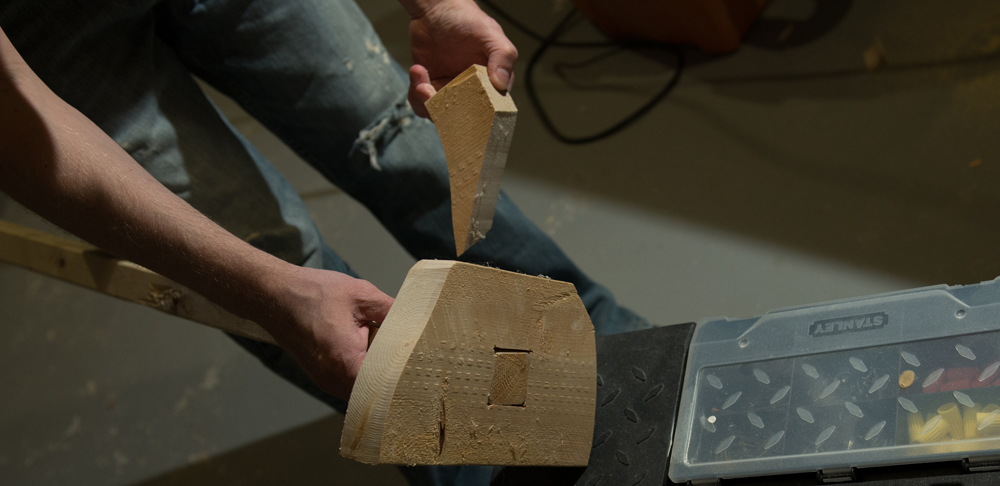
3. Using the jigsaw, cut out a square hole to fit your pole.
4. Use a hammer to gently tap the pumpkin support into place.
5. Add supports on each side of the pole so your pumpkin base stays put. The top pumpkin support can then be screwed into the side supports (from the top) to secure it onto the post.
Arms
These arms will be supported in several spots from the central pole, as they need to support not only their own weight, but the weight of your corn stalks and burlap, and withstand any wind.
1. Cut dowels to length, ensuring one end has about a 20° angle or so. You can do this with one cut through a dowel, making two pieces with matching angles.
2. Each arm gets two pieces of dowel, so that the arm has an “elbow”.
You only need one screw to attach the pieces together.
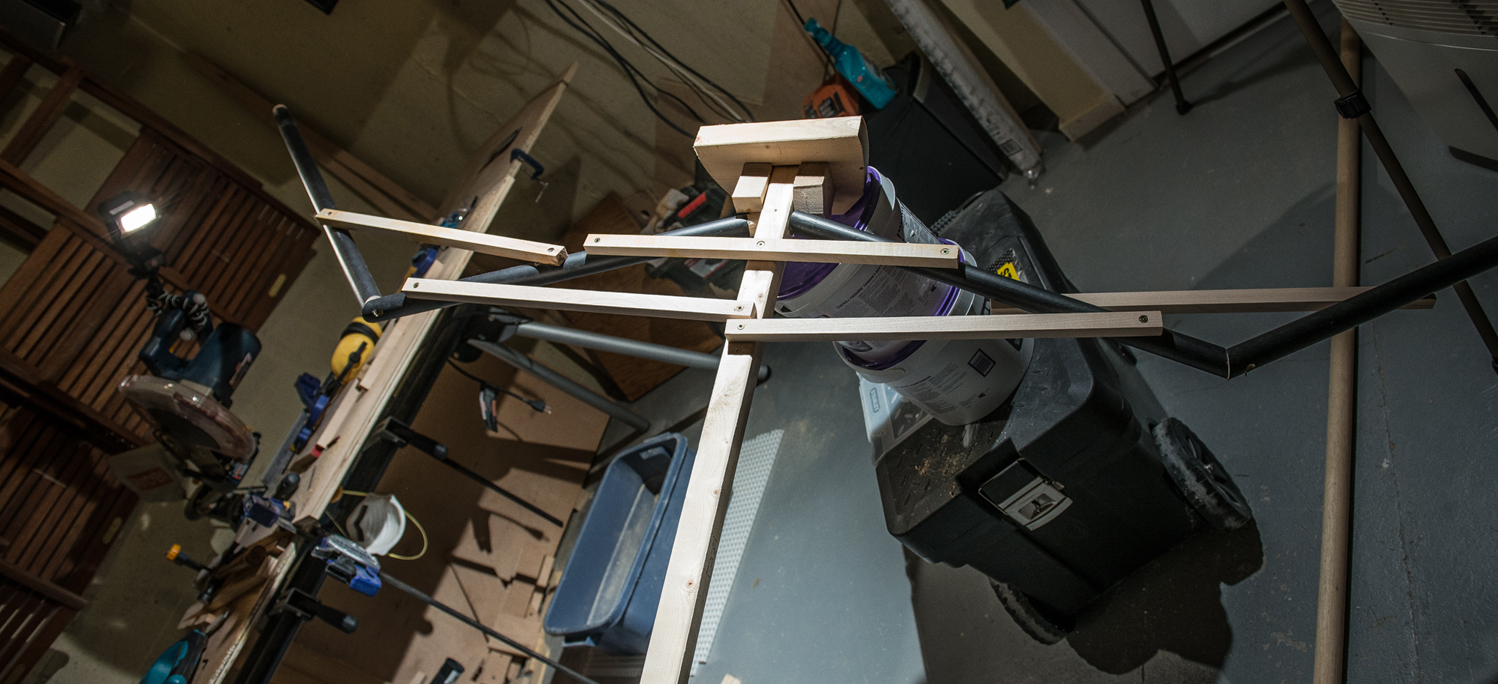
3. Attach each arm to the stand, using cross-braces.
At the end of all this work, you’ll have this:
Assembling and Decorating the Scarecrow
This takes about an hour. More if you keep stopping to admire your handywork like I did.
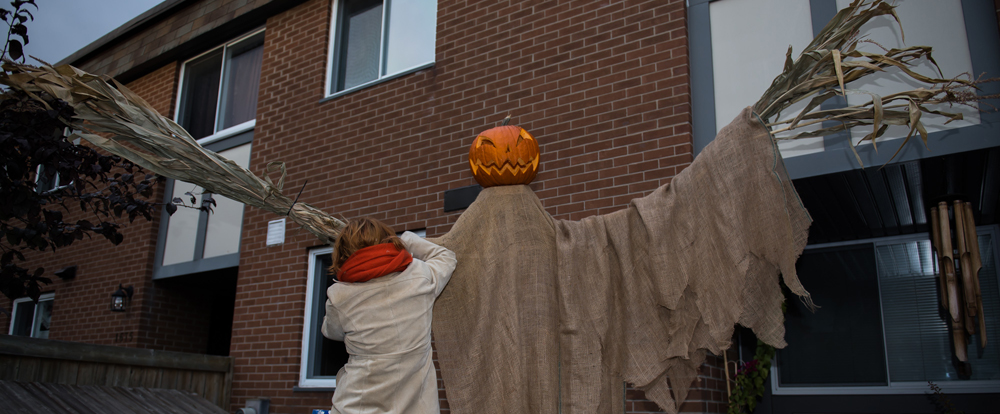
1. Bring the stand outside and situate in a location where little trick or treaters will see it. Attach remaining legs and braces if needed.
2. Drape a long sheet of burlap over the top of the stand, covering the “neck” and central pole. This should be long enough to cover the entire stand on both sides. You may want to use a couple of layers if you have enough burlap.
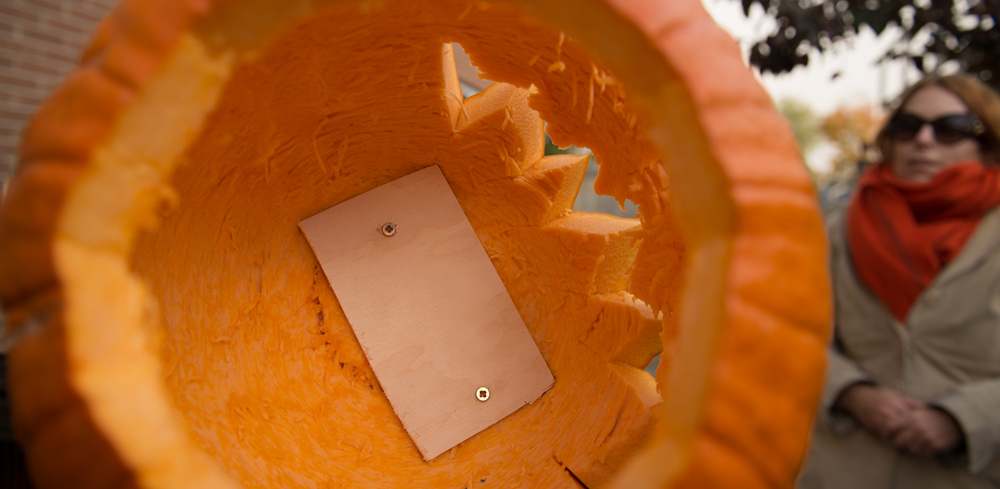
3. Tip the stand over, and attach the carved pumpkin to the “neck” using what we’ve decided to call the pumpkin mounting bracket and 2 screws. This is where the drill bit extender comes in handy, so you can reach all the way inside the pumpkin without having to worry about how wide the opening at the top is. It also helps to have two people when doing this: one to hold the stand steady, and one to hold the pumpkin in place and do the drilling.

4. Tip the stand back upright again. Check for wobbling by pushing on the main vertical pole and shim under the legs if needed. If you’re really worried about stability, put weights on top of one of the braces on the ground.
5. Attach the bunches of corn stalks to the arms using 3 lengths of twine. Arrange the ends of the corn so they are eerily hand-like.
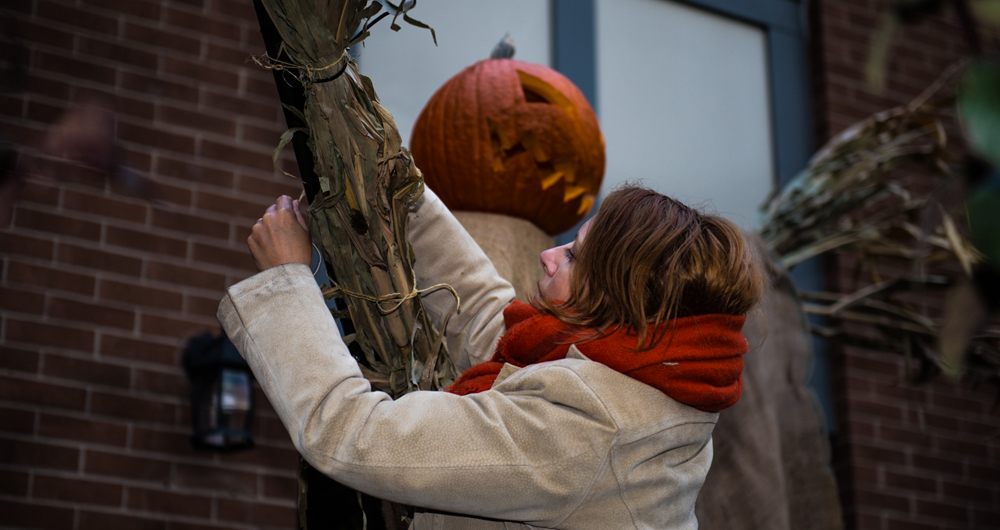
6. Use about 4 metres/12 feet of the burlap to drape and conceal the base. Use lengths of twine to ensure it won’t fall out of place.
7. Drape burlap over the arms and body, then use the scissors to cut tatters into the bottom edges of the burlap.
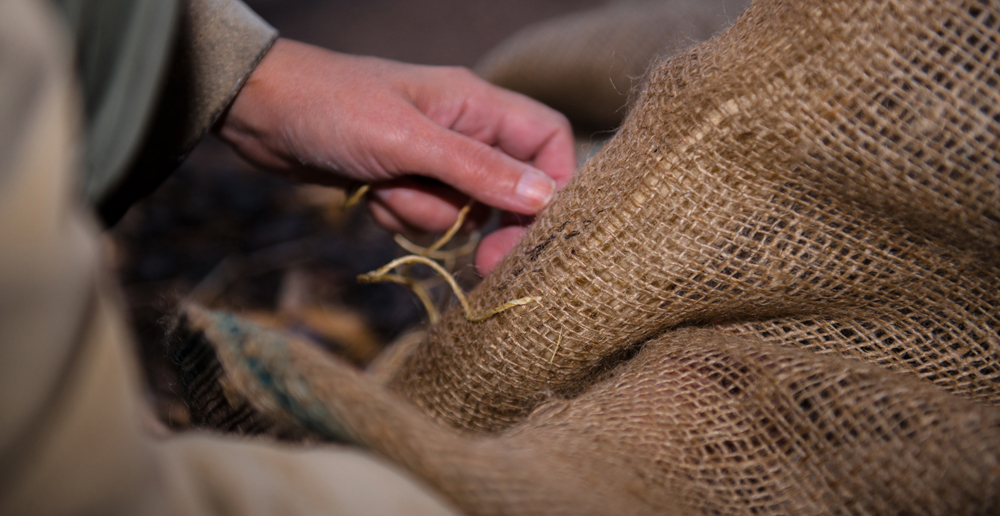
8. If needed, use small pieces of twine to stitch burlap in place. Our area is windy, so we didn’t want our burlap to blow away. Just thread the twine through the holes in the burlap and tie off between the layers so the knot can’t be seen.
9. If you want to make your pumpkin scarecrow look like it escaped from the pumpkin patch, tie a large rope around it, and unravel the end so it looks frayed.
10. Put a light in the pumpkin.
At this point, you may get kids and neighbours stopping by to tell you how cool your pumpkin scarecrow looks. Be gracious but not immodest, accepting compliments in the spirit in which they are given.
You’re done! Take pictures, post to Facebook, wait for the Likes to roll in!
I hope you try this, even though there are a lot of steps. Let me know how it goes in the comments below.

Additional Resources
2 easier ways to make a pumpkin scarecrow:
- https://youtu.be/lZYIP48rIi4 – This one is my favourite, but you need to be able to plant rebar into the ground.
- https://youtu.be/crt77hXXxSE – this is a quick method using PVC pipe as the structure.